
Interior painting preparation is the work that makes walls, ceilings, trim and doors ready to accept a new coating. In a Calgary home, that can mean protecting finished surfaces, inspecting damage, cleaning contamination, repairing drywall, sanding where it has a purpose, caulking appropriate trim joints, removing dust and using primer where the substrate actually requires it.
Why is that important? Because paint follows the surface underneath it. A premium finish coat can change colour and sheen, but it cannot flatten a raised drywall patch, remove grease, stabilize loose material or make an incompatible glossy surface behave like a properly prepared one.
This article is the technical interior-prep spoke in our larger professional paint preparation guide. It explains what the painter should evaluate and do to the surfaces themselves. If you are looking for the homeowner side—moving furniture, clearing walls, planning for pets and confirming colours—use our separate interior painting homeowner checklist. Keeping those two jobs separate makes the advice more useful and prevents a vague phrase like “prep included” from hiding what is actually being done.
For the complete service scope, products, protection standards and project process, see our interior painting services in Calgary.
Why interior painting prep is key to a better finish
Interior prep affects four things homeowners notice after the painters leave: adhesion, appearance, consistency and durability. If a wall is contaminated, the new coating may be bonding to the contamination instead of the stable paint underneath. If a repair is not feathered properly, fresh paint can make the edge easier to see. If patching compound and surrounding paint absorb differently, the repaired area can flash through the finished surface. If glossy trim is not prepared for the next coating, adhesion can become less predictable.
That is why we use a prep-first sequence: inspect → protect → repair → clean or sand where required → prime the problem → finish. Not every room needs every step. The goal is not maximum preparation for its own sake; it is the correct preparation for the actual condition of the surface.
| Interior condition | Why it matters | Typical preparation decision |
|---|---|---|
| Clean, sound bedroom wall | Little contamination or damage | Inspect, correct localized defects and prepare only where needed |
| Greasy kitchen wall | Residue can interfere with adhesion | Clean appropriately, remove cleaner residue and allow the wall to dry |
| Old drywall patch | Raised edges or different porosity can show through paint | Refine the repair, sand, remove dust and prime where required |
| Glossy trim or door | Smooth, hard finishes can require additional adhesion preparation | Clean, dull or sand where appropriate and use a compatible primer if required |
| Water stain | Discolouration can migrate through finish paint | Correct the moisture source first, then use suitable stain blocking where needed |
| Recurring crack or movement | Paint and filler may not solve the underlying cause | Assess whether repair belongs in the painting scope or needs further investigation |
1. Protect the home before repair work starts
Interior preparation begins before a sander or filling knife touches the wall. Floors, furniture, countertops, cabinets, fixtures and adjacent finishes need a protection plan that fits the work being done. Repairing and sanding drywall creates a different risk than simply repainting a sound wall, and spraying a door or ceiling requires more isolation than brush-and-roll work.
Protection and surface preparation are related, but they are not the same thing. Drop cloths and masking protect the property. Filling, cleaning, sanding and priming prepare the substrate. A project can be beautifully masked and still fail if the wall is greasy; it can also be technically well sanded and still be a poor professional experience if the surrounding home is not protected.
In occupied homes we also plan practical work zones, access and dust control before the repair stage. Where appropriate, Dynamic Painting uses dust-conscious extraction equipment, including Festool HEPA extraction. That helps control sanding dust, but no responsible painter should describe inherently dusty repair work as absolutely dust-free under every condition.
2. Inspect walls in the lighting they will actually live in
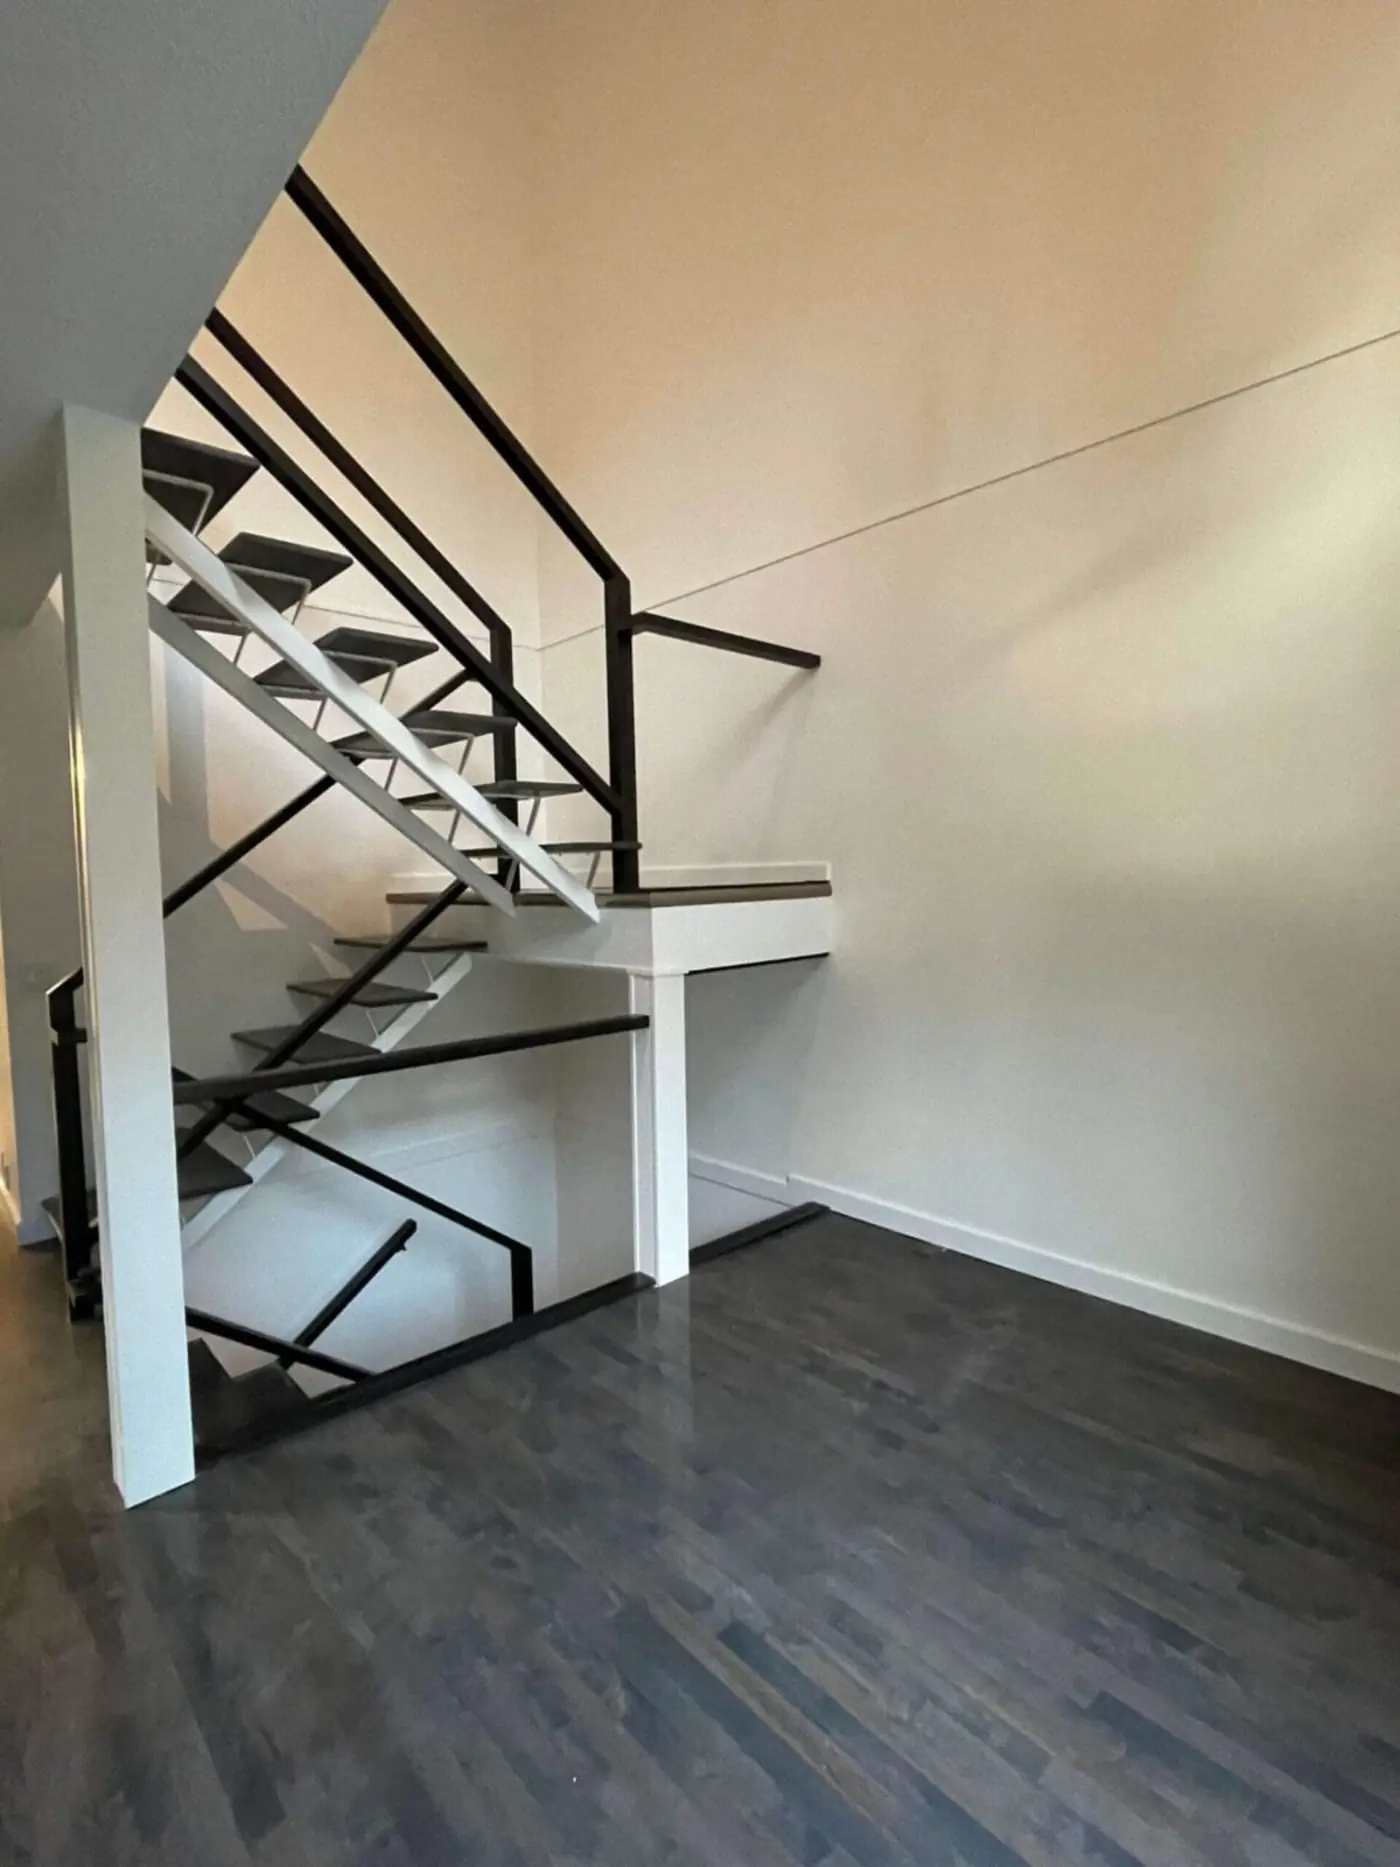
Surface defects change with the light. A patch that seems acceptable under a ceiling fixture can become obvious when morning or evening light travels sideways across the wall. Large windows, open stairwells and long hallways can reveal ridges, sanding scratches, nail pops and old repair edges more aggressively than flat front-on lighting.
Before painting, we look for dents, nail holes, torn drywall paper, raised patches, cracked corners, previous runs, rough cut lines, failed caulking, stains and texture differences. The standard should also match the agreed scope. A normal residential repaint is not automatically a Level 5 drywall restoration, but obvious defects should not be hidden behind a vague promise that “the paint will cover it.”
Paint changes colour. It does not rebuild the wall. If the substrate needs physical correction, that work belongs before the finish coats.
3. Clean the contamination that can interfere with adhesion
Does every interior wall need to be washed from top to bottom? No. Preparation should follow condition rather than ritual. A clean bedroom wall in sound condition may need little more than localized attention, while a kitchen wall near cooking areas, a stairwell hand-contact zone, a bathroom or a smoke-exposed room can need significantly more cleaning.
Grease, hand oils, soap residue, dust and other contamination matter because the new coating bonds to whatever is immediately beneath it. Benjamin Moore’s current Canadian guidance on preparing walls for painting specifically addresses cleaning, sanding, drying and priming based on surface condition rather than treating every wall identically.
Cleaning also has to finish clean. Leaving detergent or cleaner residue behind simply replaces one contaminant with another. The surface should be appropriately rinsed when the cleaning method requires it and allowed to dry before primer or paint is applied.
4. Repair drywall defects before expecting paint to hide them
Small nail holes, dents and limited imperfections are common in residential repainting. The visible quality of the repair depends on more than filling the hole. The material needs to be stable, shaped to the surrounding plane, allowed to dry and then refined so the edge does not telegraph through the finish.
Feather the repair instead of creating a bump
One of the easiest ways to make a small defect more visible is to leave a hard ridge around the patch. A repair may need more than one application and a wider feather than the original hole suggests. After sanding, it should be checked by touch and under useful light—not only from directly in front of the wall.
Know when the problem is larger than routine painting prep
Repeated cracking, large failed patches, loose board, damaged corners, widespread texture problems or signs of ongoing movement can fall outside a normal minor-prep allowance. A clear estimate should identify that before the project starts. Paint and filler are not substitutes for resolving an active building problem.
5. Sand with a reason—and remove the dust afterward
Sanding is a tool, not a ceremony. It can flatten patching compound, soften repair edges, remove debris, refine old runs, dull a glossy existing finish or prepare trim for the next coating. It does not mean every square inch of every wall must be aggressively sanded on every repaint.
The next step is just as important: the sanding dust has to come off the surface. Fine dust left behind creates a weak layer between the stable substrate and the next coating. Extraction, vacuuming and suitable final dust removal help create a more reliable foundation for primer or finish paint.
Older paint deserves a safety check before it is disturbed
Older Canadian homes can contain lead-based paint. Health Canada’s lead-based paint guidance warns that disturbing lead paint can create hazardous dust and specifically advises against sanding known lead-based paint. When the age or composition of an existing coating creates a reasonable concern, testing and the appropriate safety approach come before ordinary sanding.
Other older building materials can also require caution. Health Canada’s guidance on renovation and DIY chemical safety recommends checking suspect materials for asbestos before renovation work that could disturb them. This is especially relevant when work expands beyond ordinary painted drywall into older texture, plaster or other materials of uncertain composition.
6. Use caulking where it belongs
Caulk can improve the transition where appropriate painted trim meets a wall or where an existing paintable joint has failed. It can help close small finish gaps and create a cleaner visual line. What it should not do is become a universal answer for every crack in a room.
A moving drywall crack, failed corner, structural movement or damaged substrate may require a different repair. Smearing caulk into the wrong defect can temporarily hide the line while leaving the underlying cause untouched. Good preparation means identifying what the gap actually is before choosing the material.
7. Primer should solve a specific problem
Primer is valuable when it has a job to do. Bare drywall, exposed repairs, porous areas, stains, difficult adhesion conditions and some major substrate differences can all justify a dedicated primer. A sound previously painted wall with a compatible finish does not automatically need a full primer coat simply because primer exists.
That distinction matters for both performance and value. Spot priming a properly finished drywall repair may make sense. A stain may need a specialty stain-blocking primer. A hard glossy surface may need an adhesion-focused product. Newly installed drywall may require a broader priming system. Those are different problems and should not be treated as though one generic primer solves all of them.
What about “paint and primer in one”?
Paint-and-primer marketing does not eliminate surface preparation. A self-priming or high-hiding coating can perform very well on a suitable, properly prepared surface, but it does not remove grease, repair drywall, isolate every stain or guarantee adhesion to every glossy or unknown coating. Product capability and substrate preparation are two separate questions.
8. Trim and doors need a different prep mindset than walls
Walls and trim live different lives. Doors, casings and baseboards experience hand oils, vacuum impacts, shoe contact, cleaning products, hardware wear and repeated touching. They may also carry harder or glossier previous coatings than the walls beside them.
That means trim preparation can include degreasing high-contact areas, filling nail holes or damage, refining failed caulk, sanding or dulling the existing finish, checking adhesion and selecting a suitable primer before the finish coat. Smooth enamel-style finishes can expose poor preparation quickly because light reflects across them more sharply.
Door edges, hinges, latches and clearance also matter. Building up coating without considering how a door closes can create sticking or damage even when the broad face looks excellent.
9. Ceilings deserve their own inspection
Ceilings are technically part of an interior project, but they should not simply inherit the wall-prep plan. Broad overhead surfaces can make stains, flashing, patch edges and texture differences extremely visible. A water mark should be investigated before it is blocked and painted, and an active leak must be corrected before cosmetic work is expected to last.
Textured ceilings, older finishes and larger repairs also introduce different risks and specialist considerations. Our Calgary ceiling painting page explains the painting scope, while the main prep pillar covers broader substrate and safety decisions.
10. Interior prep in an occupied Calgary home is also about sequencing
A technically correct repair can still create unnecessary disruption if the project has no room sequence. In an occupied Calgary or Airdrie home, prep should be planned around how people actually live: which rooms need to remain usable, how furniture is handled, where sanding occurs, how pets are kept out of active work areas and how the crew leaves the space at the end of the day.
Those logistical steps belong beside the technical work, but they should not be confused with it. The painter is responsible for preparing the surfaces within the written scope. The homeowner can make the process smoother by clearing personal items and confirming access and colours. Our pre-paint homeowner checklist covers that side in detail without duplicating this article.
What should “prep included” actually mean in an interior painting estimate?
A useful written estimate should be more specific than a single line that says “prep walls.” The scope does not have to list every nail hole individually, but it should make the level of preparation understandable before work begins.
- Surfaces: walls only, or walls plus ceilings, trim, doors, closets and other details.
- Protection: how floors, nearby furniture, fixtures and adjacent finishes will be handled.
- Repairs: what normal filling is included and which larger drywall or texture problems are separate.
- Cleaning: whether contaminated areas require targeted washing or degreasing.
- Sanding: repairs, rough previous work or glossy surfaces that need additional preparation.
- Caulking: appropriate trim joints and visible failed caulk that are included in the scope.
- Primer: spot priming, stain blocking, adhesion priming or full priming where the substrate requires it.
- Coating system: the products, surfaces and number of finish coats included.
This is one reason the Dynamic Painting interior service page emphasizes a written, surface-specific scope. The word “prep” should describe real work, not function as a catch-all that can mean anything after the project starts.
Does more preparation always mean a better paint job?
No. Correct preparation is better than unnecessary preparation. Aggressively sanding a sound wall, full-priming every surface without a reason or caulking every visible line can add cost without improving the result—and in some cases can create new problems.
The professional part is diagnosis: understanding what is on the surface, what is wrong with it, what the next coating requires and which steps genuinely improve the foundation. That is the same principle explained in our broader complete professional paint preparation guide, applied here specifically to interior work.
What happens when interior painting prep is skipped?
| Skipped step | Possible result |
|---|---|
| Cleaning greasy or contaminated areas | Reduced adhesion or inconsistent coating performance |
| Refining drywall repairs | Visible humps, ridges, texture differences or flashing |
| Removing sanding dust | Coating applied over a weak powdery layer |
| Preparing glossy trim | Less reliable adhesion or a rough, uneven final appearance |
| Blocking a corrected stain appropriately | Discolouration may migrate back through the finish |
| Protecting the room | Unnecessary risk to floors, furniture, fixtures and adjacent finishes |
Not every missed step causes immediate failure. That is precisely why poor preparation can be deceptive: a room can look fresh on completion day while the weaknesses underneath only become obvious later.
Frequently asked questions about interior painting preparation
Should painters wash every wall before painting?
No. Cleaning should match the actual condition. Greasy, dusty, smoke-exposed and high-contact areas can require targeted cleaning, while clean and stable walls do not automatically need aggressive washing.
Should every interior wall be sanded?
No. Sanding is used to smooth repairs, remove surface defects, dull certain glossy finishes and improve specific problem areas. Sound walls may require little or no broad sanding.
Does every wall need primer?
No. Bare drywall, significant repairs, stains, difficult adhesion surfaces and manufacturer requirements can call for primer. A sound compatible previously painted wall may not need a separate full primer coat.
Will two coats of paint hide drywall repairs?
Paint can improve coverage, but it does not physically flatten a raised patch or remove a hard repair edge. The repair should be shaped, sanded, cleaned and primed where necessary before finish coats.
Can interior paint fix recurring cracks?
No. Paint can cover colour differences but cannot stop building movement or repair an unstable substrate. A recurring or significant crack should be assessed to determine whether it belongs in the painting scope or needs another type of repair.
How long should interior painting prep take?
There is no useful universal number. A sound bedroom can require limited preparation, while a heavily damaged room, glossy trim package, stained ceiling or poor previous repairs can require substantially more time. The estimate should reflect the visible condition and agreed standard rather than promising the same prep allowance for every room.
The key: make the surface ready before asking the paint to perform
Interior painting preparation is not the glamorous part of a repaint, but it is where many of the decisions that determine the finished result are made. Protection keeps the home safe. Inspection identifies defects. Repairs create the shape. Cleaning and sanding address adhesion and appearance. Primer solves specific substrate problems. Only then should the finish coats be expected to do their job.
That is the same prep-first philosophy that runs through our main preparation pillar: preparation → adhesion → finish → longevity. For the complete theory across interior, exterior, stucco and wood, read Professional Paint Preparation: The Complete Homeowner Guide. For actual Calgary and Airdrie project scopes, products, protection and estimates, visit Interior Painting Calgary or request a free on-site estimate.