
Quick answer: For most professionally repainted interior walls, two finish coats are a sensible planning standard. That does not mean every wall should receive exactly the same coating sequence. Bare drywall, repairs, stains, difficult colour changes and adhesion-sensitive surfaces can need primer before the finish coats, while an occasional wall may need an additional finish coat to reach uniform colour and appearance. The right question is not simply “one coat or two?” It is “what coating system does this surface need?”
That distinction matters because homeowners often hear three different ideas described as though they mean the same thing: a paint that can cover in one coat, a self-priming paint, and a professional scope that includes two coats. They are related, but they are not interchangeable.
Benjamin Moore’s Canadian guidance for paint-and-primer products says one-coat coverage can sometimes be achievable, while still recommending two coats for full colour development and optimized performance on most properly prepared surfaces. Individual product data also varies: Aura Interior and Regal Select Interior list one or two recommended coats depending on the product and surface. In practice, the existing colour, new colour, substrate, repairs, application rate and lighting all help determine what the wall actually needs.
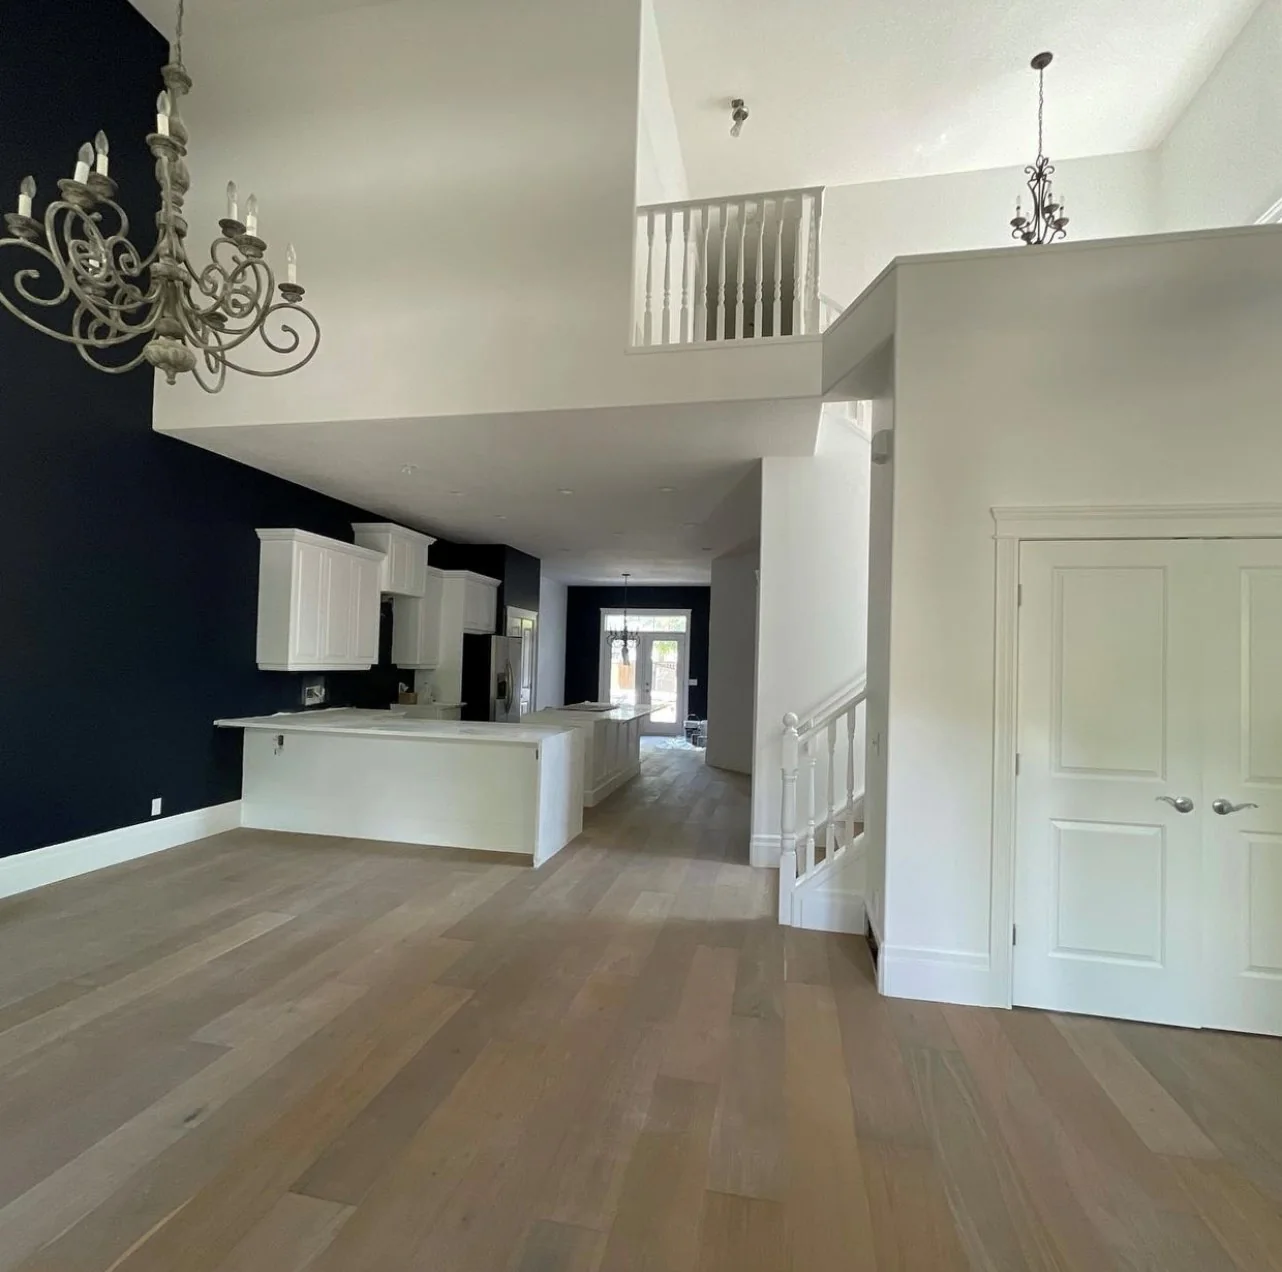
A practical coat-count guide for interior walls
| Wall condition | Typical planning approach | Why |
|---|---|---|
| Sound previously painted wall, similar colour | Usually two finish coats | Provides a consistent planned system instead of relying on whether the first coat happens to look acceptable |
| Bare drywall or large areas of new joint compound | Primer or appropriate sealer, then finish coats | Porous materials can absorb coating differently and need a more uniform foundation |
| Dark-to-light or major colour change | Primer may be useful, followed by the specified finish coats | A planned base can improve hide and reduce the risk of an uneven final colour |
| Stained, glossy or adhesion-sensitive surface | Problem-specific preparation or primer, then finish coats | Coverage alone does not solve stain migration or poor adhesion |
| Strong critical light or difficult colour | Two coats, with another coat only when the dried finish still requires it | Low-angle light and certain colours can expose uneven hide, lap marks or surface variation |
This table is a planning guide, not a substitute for reading the product data sheet and inspecting the wall. Primer is counted separately from finish paint because it has a different job.
Why two finish coats are a useful professional standard
A first coat does several things at once. It begins the colour change, establishes the roller pattern and puts the new coating over the prepared surface. Depending on the old colour and the new colour, it can look surprisingly good when it dries. That does not automatically mean the wall is finished.
A second finish coat gives the painter another controlled pass to develop colour uniformly, even out minor differences in application and complete the specified film build. This is especially important across large walls, long sightlines and open-concept rooms where small differences can be visible from several angles.
For Dynamic Painting interior projects, two finish coats are the normal planned standard on included painted surfaces. Primer is a separate preparation decision, and an additional finish coat is used when the colour, wall condition or final dried appearance genuinely requires it. The written scope should make those expectations clear before work begins.
Primer is not the same thing as a first coat of paint
Calling primer “coat one” can make a three-step coating system sound like a three-coat paint job even though the products are doing different jobs. Primer is selected to solve a substrate or compatibility problem. Finish paint is selected to provide the final colour, sheen, washability and appearance.
Common reasons to prime include bare drywall, fresh repairs, exposed paper, certain stains, glossy or adhesion-sensitive surfaces, and some dramatic colour transitions. A sound previously painted wall does not automatically need full priming just because it is being repainted.
Our primer-before-painting guide explains when primer adds value and when it is unnecessary. The important point here is that using the right primer can be more effective than simply adding finish coat after finish coat.
When one coat can look good but still be the wrong decision
Premium interior paints can have excellent hide, and manufacturers may list one or two recommended coats on properly prepared surfaces. If the existing wall is close to the new colour, the first coat can sometimes look complete at a glance.
There are two reasons not to make the decision while the paint is still wet. First, wet paint can hide thin areas differently than the fully dried film. Second, the room should be checked in the lighting it will actually live in. Window light, evening lamps and low-angle daylight can reveal roller holidays or uneven colour that were not obvious immediately after application.
If a project has been sold and scoped as a two-coat system, the correct professional approach is to complete that system rather than stop because the first coat happens to cover well.
When a third finish coat may be justified
A third finish coat should solve a visible coverage or colour-development problem, not compensate for poor preparation. Situations that can occasionally justify another coat include:
- Difficult colour transitions: some very dark-to-light changes or highly saturated colours can remain uneven after the planned coats.
- Critical-light walls: long walls beside large windows can expose subtle differences in hide and roller application.
- Localized absorption differences: if repaired areas were not sealed correctly, the problem should first be diagnosed rather than automatically buried under more paint.
- Colour-specific hide: certain formulas and bases cover differently. The product data sheet and the actual dried wall matter more than a universal promise.
If the issue is a ridge, badly feathered patch, roller texture or drywall defect, another coat will not flatten the wall. That belongs back in the preparation stage. Our guide to sanding walls before painting explains why extra paint cannot correct the shape of a poor repair.
Dark-to-light changes: more paint is not always the smartest answer
Changing a deep navy, burgundy, charcoal or other strong colour to a pale neutral can be one of the clearest examples of why coat count needs planning. It is possible to keep applying finish paint until the old colour disappears, but a suitable primer can sometimes create a more predictable foundation first.
The reverse change also deserves planning. Deep and highly saturated colours may use different bases and can develop their final appearance over more than one pass. Benjamin Moore notes that certain custom colours can require a specially tinted deep-base primer prescription. That is one reason colour should be known before the final coating system is written.
Critical light can make a well-covered wall look uneven
Calgary and Airdrie homes often have large windows, open stairwells and long walls where sunlight travels almost parallel to the surface. Painters call this critical or grazing light. It exaggerates texture, patches, roller stipple and sheen changes.
That can create an important diagnostic mistake: a homeowner may think the wall needs another coat when the real issue is the drywall surface underneath. If the defect changes shape as the light moves, inspect the wall itself before assuming hide is the problem.
For walls where this matters, see our guide to painting walls in critical light. In especially demanding areas, the preparation level, skim-coating requirement, primer, sheen and application method can matter as much as the final coat count.
Recoat time matters just as much as coat count
Two coats applied too close together are not the same as two coats applied according to the coating manufacturer’s instructions. The first coat needs enough time to reach the specified recoat stage before the next one is applied.
Recoat times vary by product and finish. Benjamin Moore’s Canadian Aura Interior data lists a one-hour recoat time for several finishes, while Regal Select data varies by finish and can be longer. Temperature, humidity and ventilation can also affect real-world drying. A professional schedule should follow the current technical data for the actual product being used rather than assume every interior paint behaves the same way.
Paint thickness matters: stretching a gallon is not another coat
Coverage numbers on a product sheet are application guidance, not a challenge to see how far a gallon can be stretched. A coat applied materially thinner than the specified wet-film range may not deliver the hide or film properties expected from that coating.
This is also why two contractors can both write “two coats” and still be describing different work. Product choice, preparation, application method, spread rate and the surfaces included all matter. If you are comparing estimates, our guide to comparing painting quotes explains what should be written into the scope.
How to inspect a wall after the first coat
- Let it reach the proper recoat stage. Do not judge the final colour while large areas are still wet.
- Check the wall from normal viewing positions. Look down long walls and across open rooms, not only straight at the surface from two feet away.
- Use the room’s real lighting. Check daylight and artificial light when either condition is important to the room.
- Separate hide problems from surface problems. A thin spot may need coating; a raised patch edge needs preparation.
- Look for uniform sheen and roller pattern. The final wall should read as one continuous surface.
For a deeper look at how daylight changes what you see, read how lighting changes paint colour.
How many gallons is different from how many coats
Coat count tells you how many complete applications are planned. Paint quantity tells you how much material those applications are likely to consume. Room dimensions, doors and windows, product coverage and waste all affect the quantity calculation.
If you are planning material rather than evaluating a coating system, use our living-room paint quantity guide. Keeping those two questions separate prevents a common mistake: buying enough material for one pass when the project is actually planned as a two-coat repaint.
Questions to ask before accepting “one coat” or “two coats” in a quote
- Are primer and finish coats listed separately?
- Does the scope identify the actual paint product and sheen?
- What happens if the selected colour does not cover uniformly after the planned coats?
- Are patches and repairs spot-primed where required?
- Is a dramatic colour change already accounted for?
- Are walls, ceilings, trim and doors each given their own coating specification?
A clear estimate should answer those questions before the crew starts. See our Calgary interior painting service for how surface preparation, product selection, colour planning and finish coats fit into the complete project.
Interior paint coat FAQ
Do interior walls always need two coats?
No universal rule fits every wall and every product. Two finish coats are a strong professional planning standard for most repaints, but the complete system can also include primer or, occasionally, an additional finish coat when coverage or colour development requires it.
Does primer count as one of the two coats?
Not when the scope is describing two finish coats. Primer is a separate preparation coating selected for substrate, stain, adhesion, porosity or colour-transition reasons.
Can premium paint cover in one coat?
Sometimes. Benjamin Moore notes that one-coat coverage can be achievable with high-quality products on suitable prepared surfaces, while its Canadian guidance still recommends two coats for full colour development and optimized performance in its paint-and-primer guidance.
Will a third coat hide drywall imperfections?
No. Extra finish paint can improve colour coverage, but it will not flatten ridges, poorly feathered patches or uneven drywall texture. Those defects need to be corrected during surface preparation.
Do dark colours always need more coats?
No. The existing colour, new colour, base, primer strategy and product all matter. Some dramatic changes benefit from a planned primer, while some premium coatings achieve full hide within the specified two-coat system.
Sources and product guidance
- Benjamin Moore Canada: Paint and Primer in One
- Benjamin Moore Canada: Aura Interior Paint
- Benjamin Moore Canada: Regal Select Interior Paint
Planning an interior repaint in Calgary or Airdrie? Dynamic Painting scopes preparation, primer requirements, products and finish coats around the actual surfaces and colour plan. Request a painting estimate.