10 Interior Painting Tips for Beginners That Help You Get Better Results
Painting your home can be a great DIY project when you start with the right plan, tools, and prep.
This guide is designed for beginners who want a cleaner process, fewer mistakes, and a more professional-looking finish.
It also helps you understand when a project is manageable on your own and when it makes sense to bring in a pro.
Why This Guide Matters for First-Time Interior Painters
A lot of beginner painting problems start before the first coat ever goes on the wall.
People often rush colour selection, skip prep, buy the wrong roller, or try to cover rough surfaces with thicker paint.
That usually leads to visible lap marks, flashing, drips, rough edges, and disappointing coverage.
The good news is that you do not need to be a professional painter to improve your result.
However, you do need to think like one.
That means planning the room properly, protecting the space, choosing the right tools, and understanding how prep affects the final finish.
If your project includes ceilings, textured surfaces, heavy drywall repairs, or multiple rooms that need a consistent finish,
it can also help to compare your DIY plan against a professional interior painting service in Calgary,
review likely costs on the interior painting cost guide,
or look at finished examples in the project gallery.
Better results usually come from better prep, better lighting checks, better sheen choices, and more patience between coats.
10 Interior Painting Tips for Beginners
Plan the project before you open the first can
Decide exactly what is being painted: walls only, walls and trim, ceilings, doors, or the full room package.
Then confirm your colour, sheen, number of coats, and the order of work.
Start with a small scope if this is your first time. A single bedroom is a much better training ground than an open-concept main floor.
Buy better tools, not just better paint
Cheap rollers shed lint. Cheap brushes leave weak cut lines. Weak tape can bleed.
Spending a little more on tools often makes a bigger difference than beginners expect.
- 2″ to 2.5″ angled sash brush for cutting in
- 9″ roller frame with quality roller cover
- Extension pole for better control
- Drop sheets, pail, liner, and painter’s tape
Do not skip cleaning and surface prep
Dust, grease, hand oils, and sanding residue all work against adhesion.
Walls should be cleaned, damaged spots filled, and rough areas sanded smooth before paint goes on.
If the room has ceiling stains or visible damage overhead, review the ceiling painting page before you begin.
Use primer with purpose
Primer is especially helpful when covering stains, patch repairs, dark colours, glossy surfaces, or inconsistent porosity.
It helps create a more uniform finish and can reduce patch flashing.
Do not assume paint-and-primer-in-one solves every surface issue.
Cut in carefully, then roll while the edges are still workable
Beginners often make the mistake of cutting every edge in the room and waiting too long to roll.
That can leave visible picture framing and lap marks.
Work one wall or one manageable section at a time so the brushed and rolled areas blend better.
Use thin, even coats instead of one heavy coat
Thick coats are more likely to sag, dry unevenly, and show texture inconsistencies.
Two controlled coats almost always look better than one overloaded pass.
Follow dry times properly, especially if the room is cool or ventilation is limited.
Choose a sheen that fits the room and the wall condition
Sheen affects durability, washability, and how much wall texture or repair work shows.
A shinier finish can highlight flaws that a softer finish hides more easily.
If you are unsure, compare your plan with the recommendations on the interior painting page.
Protect floors, furniture, and adjacent finishes
Good prep is not only about the wall.
It is also about preventing avoidable mess.
Remove what you can, cover what stays, and protect flooring properly before painting starts.
This step matters even more in occupied homes where daily traffic continues around the work area.
Take more time on trim, doors, and detail work
Walls can still look decent with minor beginner imperfections.
Trim and doors usually expose those mistakes faster.
Slow down on edges, maintain a lighter hand, and watch for buildup near corners and profiles.
Know when the project is becoming too technical
A straightforward repaint is one thing.
Heavy repairs, water staining, repeated crack movement, very high spaces, stairwells, and full-house repaints are another.
When the work starts moving beyond your confidence level, it is smart to book an estimate and compare your DIY plan with a professional scope.
Quick Tool and Prep Checklist for Beginners
| Item | Why it matters | Beginner tip |
|---|---|---|
| Angled brush | Helps with cleaner cut lines around trim and ceilings | Do not overload it with paint |
| Quality roller cover | Improves finish consistency and reduces lint | Match nap to wall texture |
| Drop sheets | Protects floors and furniture | Canvas or quality poly is better than thin disposable sheets |
| Filler and sanding sponge | Smooths repairs before painting | Always wipe dust away before priming or painting |
| Primer | Improves consistency on repairs and problem spots | Use it where the surface needs it, not blindly everywhere |
| Extension pole | Improves reach and roller control | Usually gives a better result than working without one |
Thinking About DIY First, Then Getting Help?
That is a smart way to compare effort, cost, and finish expectations.
If you want to see how a professional scope is structured, start with the
interior painting service page,
look at the Calgary interior painting cost guide,
and then request a free estimate.
Common Beginner Painting Mistakes to Avoid
Using the wrong amount of paint
Too little paint can leave dry roller marks.
Too much paint can create drips and heavy texture.
A balanced load is what you want.
Skipping repairs because “paint will hide it”
Paint usually makes dents, patches, and ridges more visible, especially in side lighting.
Painting too large an area at once
Working too big can make it hard to keep a wet edge and blend sections properly.
Choosing sheen based only on appearance
Washability and wall condition matter just as much as colour preference.
Rushing recoat time
Paint that feels dry to the touch may not be ready for the next coat yet.
Forgetting the room’s real use
Busy hallways, kids’ rooms, and family spaces usually need more durable choices than low-traffic rooms.
When It Makes Sense to Call a Professional Painter
DIY can make sense for smaller, lower-risk spaces.
However, some projects deserve a more experienced hand from the start.
- Multiple rooms need consistent colour flow and finish quality
- Ceilings, stairwells, or high areas are involved
- Drywall damage, stains, or prior bad paint work need correction
- Trim, doors, and detailed surfaces need a sharper finish
- You want the work done faster with less disruption in the home
If that sounds like your project, it helps to review the team, process, and standards on the
about Dynamic Painting page,
compare interior scope details on the main interior page,
and then move to the free estimate form.
Professional Painter Insight
One of the biggest differences between a beginner result and a professional-looking result is consistency.
Professionals are not only better at applying paint.
They are better at reading the surface, planning the sequence, spotting flaws before the finish coat,
and adjusting the system based on the room.
That is why a quality interior paint job often depends on the parts most homeowners do not see on Instagram:
patching, sanding, caulking, masking, spot priming, sheen control, and patience between coats.
FAQ: Interior Painting Tips for Beginners
What is the biggest mistake beginners make when painting interiors?
Skipping prep is usually the biggest issue.
Dirty walls, rough repairs, dust, and poor masking can ruin the final result even when the paint itself is good.
Do beginners need to use primer?
Not on every wall, but often on repairs, stains, dark colours, glossy surfaces, and patchy areas.
Primer helps create a more even finish.
How many coats of interior paint should a beginner expect to apply?
Two finish coats is common for better consistency and coverage.
Some colours or surface conditions may need more work, especially if the previous colour is much darker.
Is winter a good time for interior painting in Calgary?
Yes. Interior painting can be a smart winter upgrade because you are working indoors and many homeowners use the colder season to refresh rooms before spring.
When should I hire a pro instead of doing it myself?
It makes sense to hire a pro when the project includes high ceilings, stairwells, detailed trim, heavy repairs, stain issues, or multiple rooms where finish consistency matters.
Generated Featured Image Details
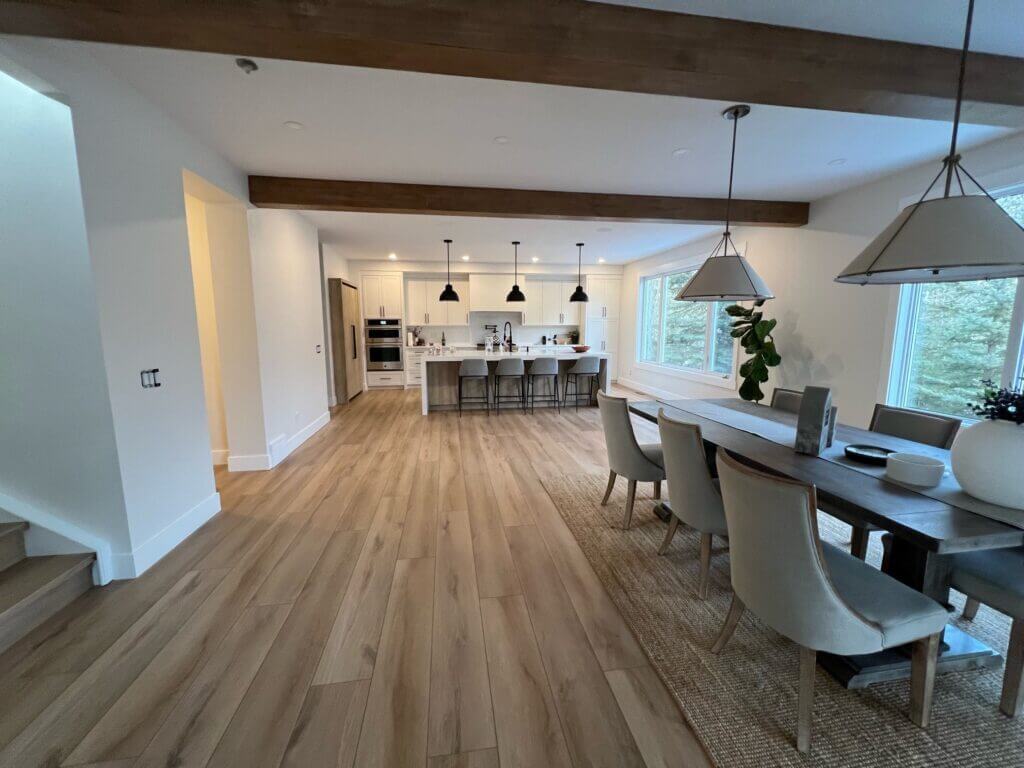
Image concept: A clean, bright Calgary interior with a homeowner painting a wall carefully while professional-grade tools, drop sheets, and painter’s tape are visible in the space.
File name: interior-painting-tips-for-beginners-calgary.jpg
Alt text: Beginner using proper prep and painting techniques for an interior room in Calgary
Title: Interior Painting Tips for Beginners in Calgary
Caption: Better prep, better tools, and better technique help first-time painters get cleaner interior results.
Description: Featured image for a Dynamic Painting blog about beginner interior painting tips, including prep, tools, primer, rolling technique, and when to hire a professional painter in Calgary.
FAQ + Article Schema
<script type="application/ld+json">
{
  "@context":"https://schema.org",
  "@graph":[
    {
      "@type":"Article",
      "headline":"10 Interior Painting Tips for Beginners That Help You Get Better Results",
      "description":"A beginner-friendly guide to interior painting with practical tips on planning, prep, primer, tools, technique, and when to hire a professional painter in Calgary.",
      "author":{
        "@type":"Organization",
        "name":"Dynamic Painting Inc."
      },
      "publisher":{
        "@type":"Organization",
        "name":"Dynamic Painting Inc.",
        "logo":{
          "@type":"ImageObject",
          "url":"https://efg2cb5kdt4.exactdn.com/wp-content/uploads/2024/04/p1-1024x768.jpg"
        }
      },
      "mainEntityOfPage":{
        "@type":"WebPage",
        "@id":"https://paintcalgary.ca/"
      },
      "articleSection":"Interior Painting",
      "keywords":[
        "interior painting tips for beginners",
        "beginner painting tips",
        "DIY interior painting",
        "interior painting Calgary"
      ]
    },
    {
      "@type":"FAQPage",
      "mainEntity":[
        {
          "@type":"Question",
          "name":"What is the biggest mistake beginners make when painting interiors?",
          "acceptedAnswer":{
            "@type":"Answer",
            "text":"Skipping prep is usually the biggest issue. Dirty walls, rough repairs, dust, and poor masking can ruin the final result even when the paint itself is good."
          }
        },
        {
          "@type":"Question",
          "name":"Do beginners need to use primer?",
          "acceptedAnswer":{
            "@type":"Answer",
            "text":"Not on every wall, but often on repairs, stains, dark colours, glossy surfaces, and patchy areas. Primer helps create a more even finish."
          }
        },
        {
          "@type":"Question",
          "name":"How many coats of interior paint should a beginner expect to apply?",
          "acceptedAnswer":{
            "@type":"Answer",
            "text":"Two finish coats is common for better consistency and coverage. Some colours or surface conditions may need more work, especially if the previous colour is much darker."
          }
        },
        {
          "@type":"Question",
          "name":"Is winter a good time for interior painting in Calgary?",
          "acceptedAnswer":{
            "@type":"Answer",
            "text":"Yes. Interior painting can be a smart winter upgrade because you are working indoors and many homeowners use the colder season to refresh rooms before spring."
          }
        },
        {
          "@type":"Question",
          "name":"When should I hire a pro instead of doing it myself?",
          "acceptedAnswer":{
            "@type":"Answer",
            "text":"It makes sense to hire a pro when the project includes high ceilings, stairwells, detailed trim, heavy repairs, stain issues, or multiple rooms where finish consistency matters."
          }
        }
      ]
    }
  ]
}
</script>